

How Lenses Are Made
Coating
Once the lenses are surfaced, the next step is applying a protective coating. This coating not only makes the lenses more durable but also prepares them for tinting.
A Protective LAyer
Why Coating Matters
For mass production, companies often use nickel electroplating, creating long-lasting molds that can produce thousands of lenses. But at Chadwick, we specialize in small-batch, precision work. That means we craft molds in-house using glass blanks surfaced right here in our lab - perfect for unique, one-off lenses.
Similar to processing prescription lenses, we start with a solid glass puck. Using precision cutting, we shape curves into the backside of the mold. For standard molds, we cut a single spherical curve.
For the more complex, we cut a curve on top of a curve.
Our Go-To Process
Spin Coating
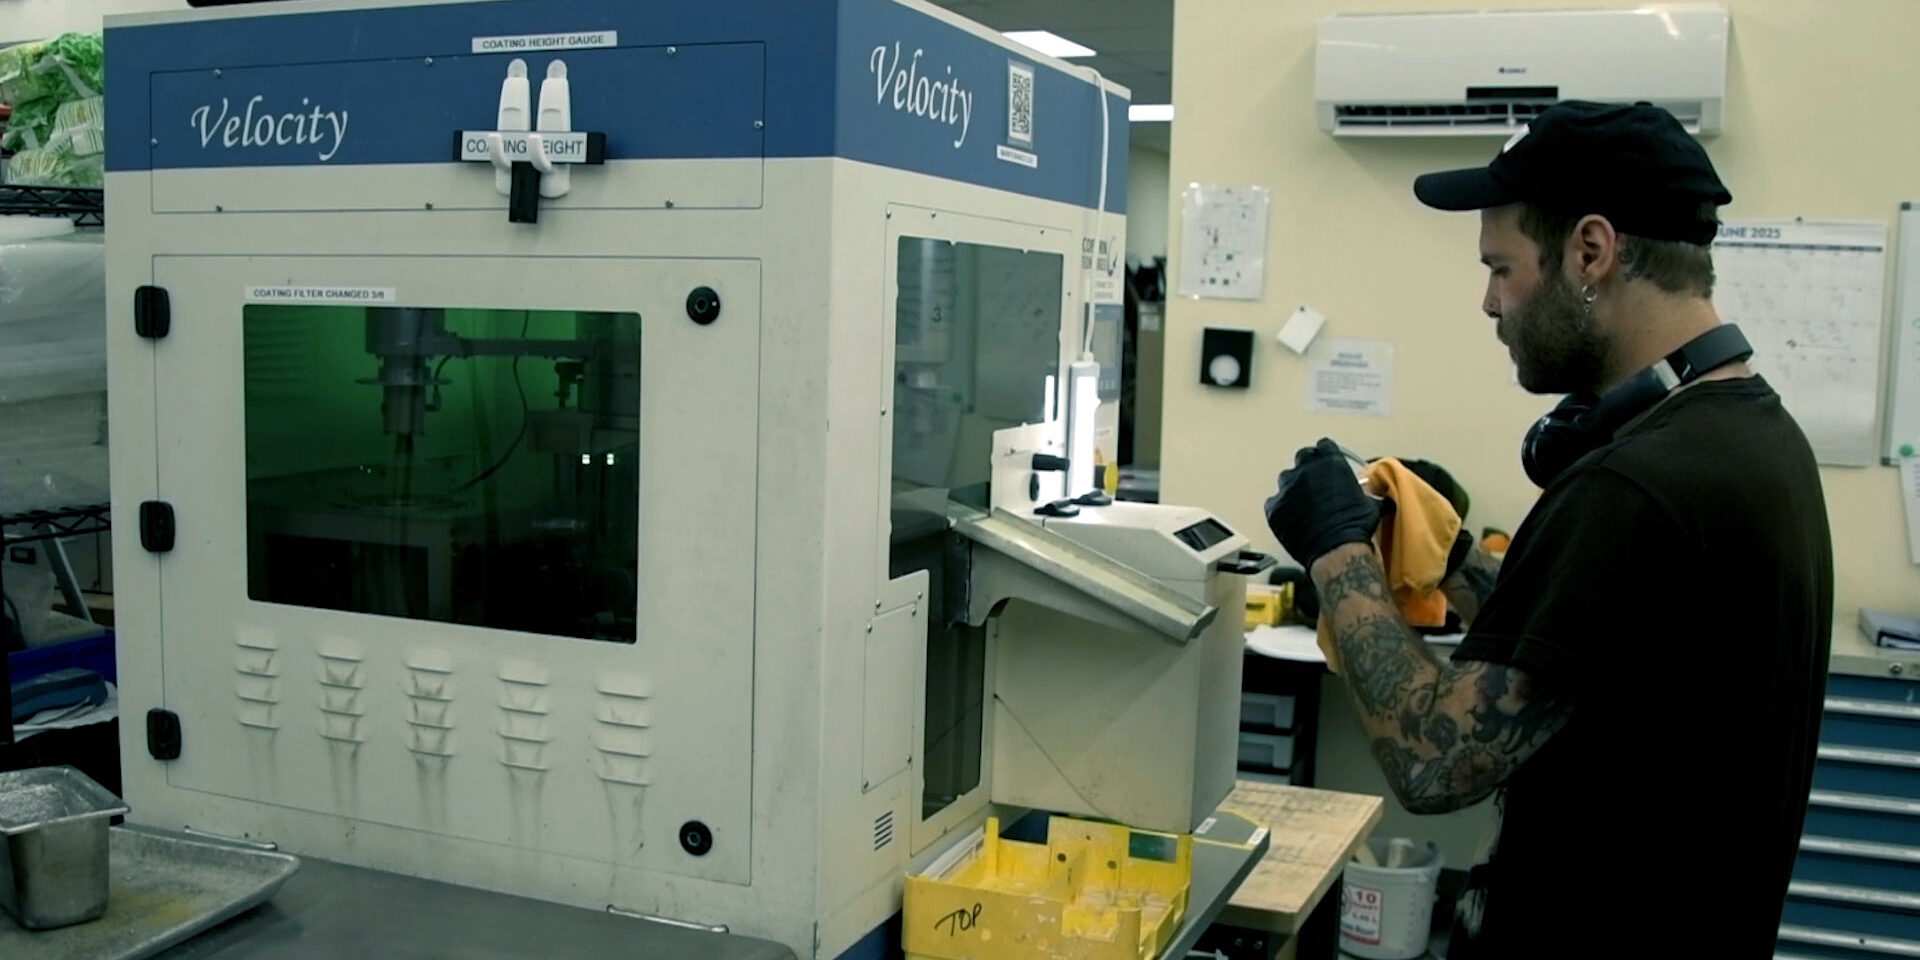
We use a spin coater to apply this protective layer. Here’s how it works:
- The lens is carefully cleaned to remove any dust or residue.
- A fine stream of coating is applied to the center of the lens.
- The lens spins at high speed, spreading the coating evenly across the surface.
- Finally, the coated lens is cured with UV light, hardening it into a smooth, durable finish.
This process takes just a few minutes and results in a strong, even layer of protection.
Another Approach
Dip Coating
There’s also a method called hard dip coating, which we don’t typically use at Chadwick but is common in the industry. Dip coating involves:
- Starting with an uncoated lens (or stripping off manufacturer coatings)
- Cleaning the surfaces thoroughly
- Dipping the lens into the coating solution
- UV-curing to harden the finish
Dip coating creates an extremely durable hard coat on both sides of the lens. However, it’s a longer, more expensive process, often taking hours instead of minutes.
Next sTeps
Edging (Glazing)
Once approved, the finished lens blanks are labeled, boxed and shipped to our lab where they’ll be surfaced and shaped into custom prescription lenses.