How Lenses Are Made - Part 4
Coating
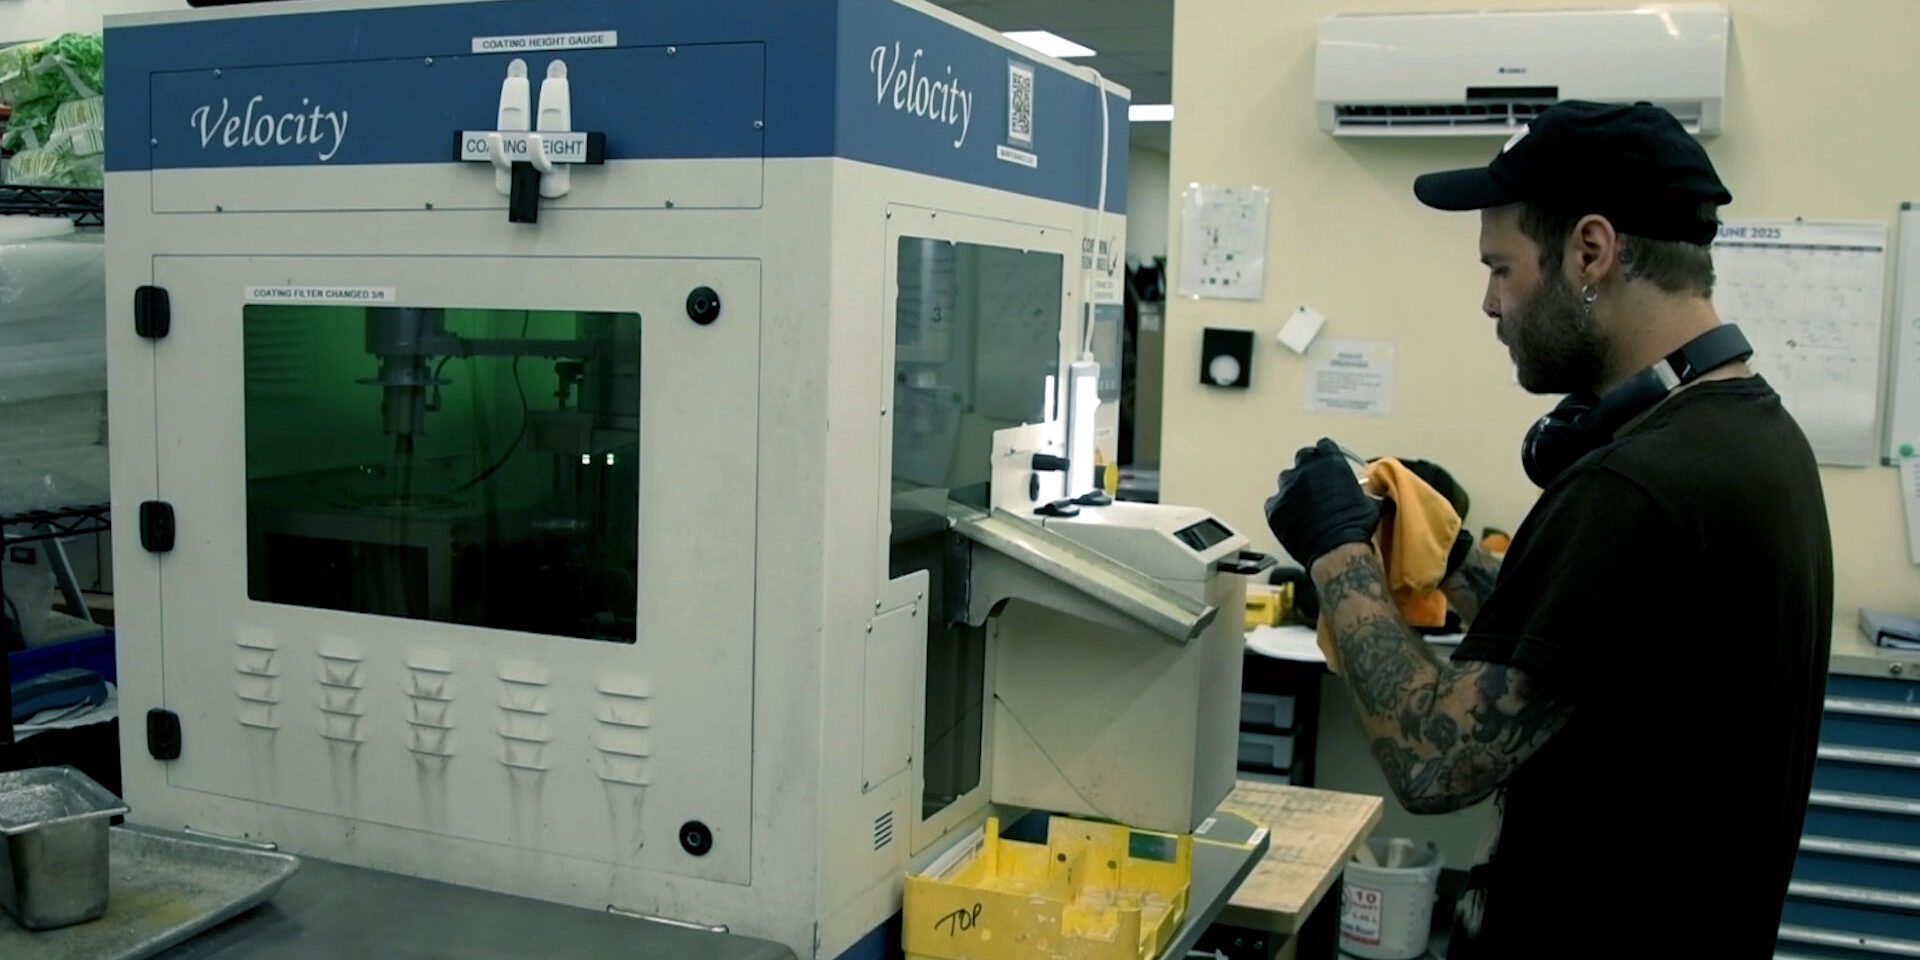
Once the lenses are surfaced, the next step is applying a protective coating. This coating not only makes the lenses more durable but also prepares them for tinting.

Why Coating Matters
Some lens materials, like polycarbonate and high-index plastics, are softer right after surfacing. Without a protective layer, they’re more prone to scratches. At Chadwick, we use a tintable hard coat, which both strengthens the lens and allows us to apply a wide range of tints.
Spin Coating: Our Go-To Process
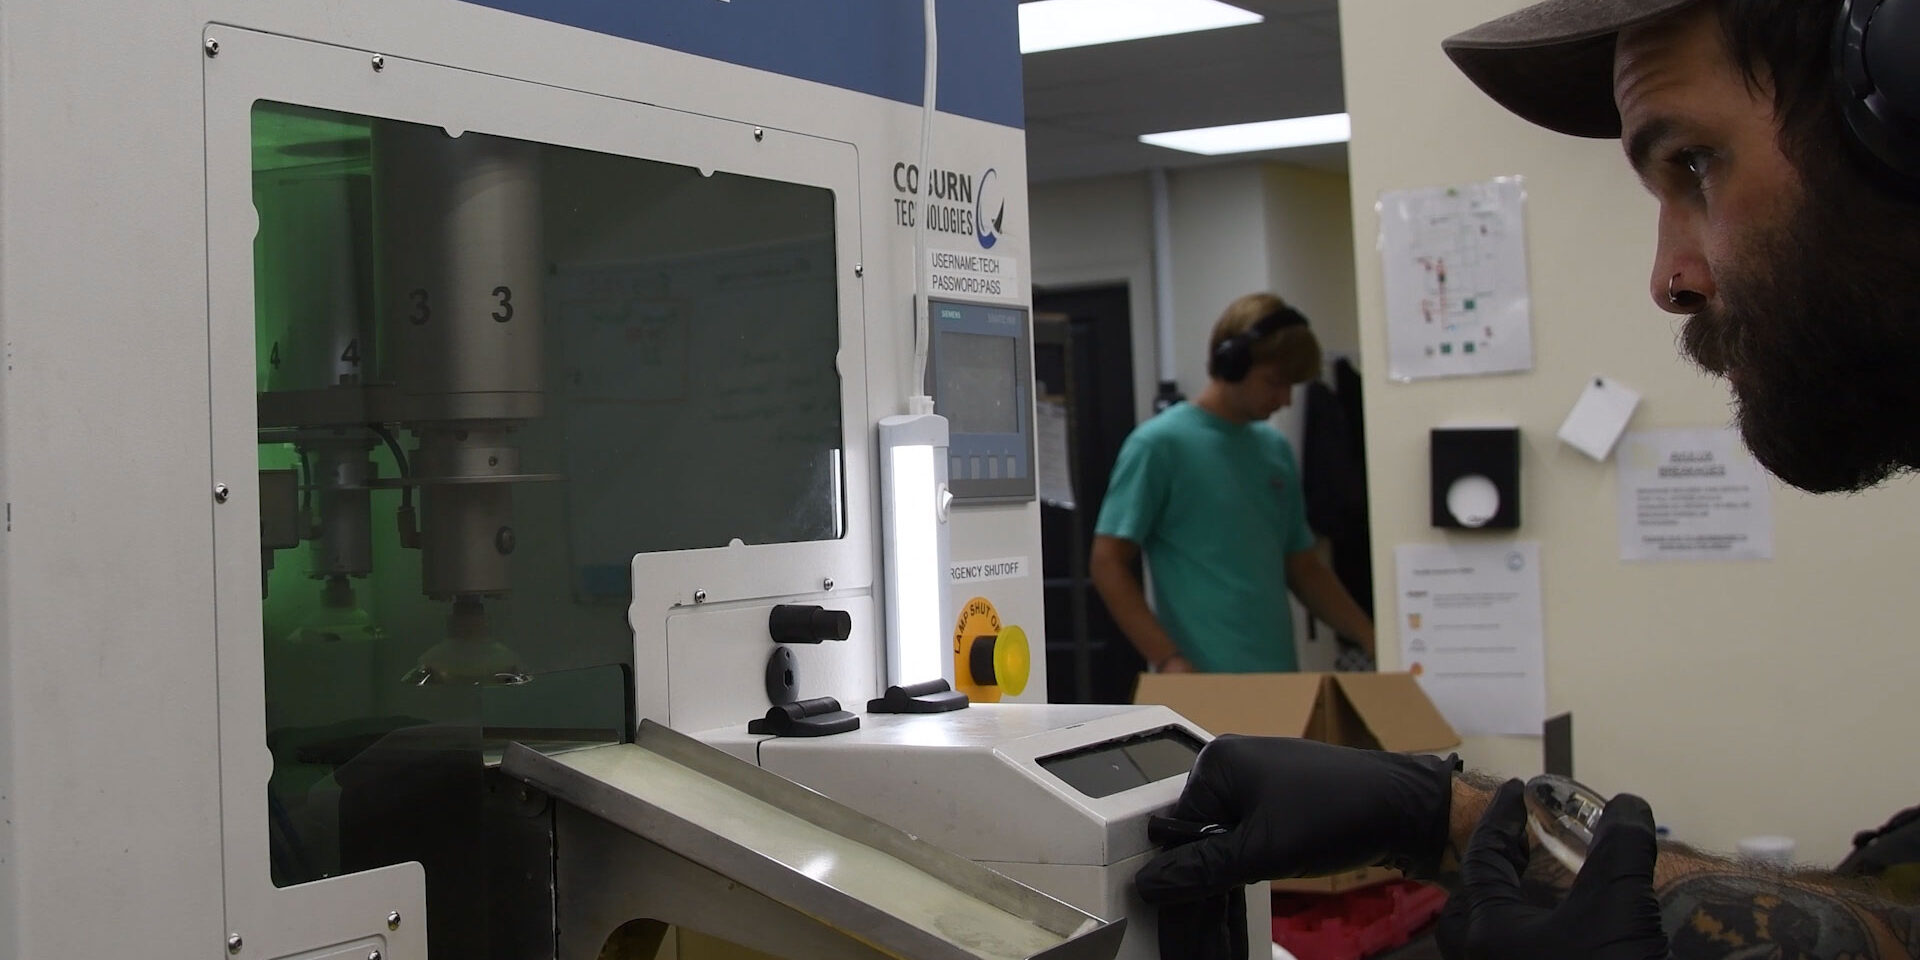
We use a spin coater to apply this protective layer. Here’s how it works:
- The lens is carefully cleaned to remove any dust or residue.
- A fine stream of coating is applied to the center of the lens.
- The lens spins at high speed, spreading the coating evenly across the surface.
- Finally, the coated lens is cured with UV light, hardening it into a smooth, durable finish.
This process takes just a few minutes and results in a strong, even layer of protection.

Dip Coating: Another Approach
There’s also a method called hard dip coating, which we don’t typically use at Chadwick but is common in the industry. Dip coating involves:
- Starting with an uncoated lens (or stripping off manufacturer coatings)
- Cleaning the surfaces thoroughly
- Dipping the lens into the coating solution
- UV-curing to harden the finish
Dip coating creates an extremely durable hard coat on both sides of the lens. However, it’s a longer, more expensive process, often taking hours instead of minutes.
Ready for the Next Step
After coating, the lenses are stronger, smoother and ready for edging and tinting.
