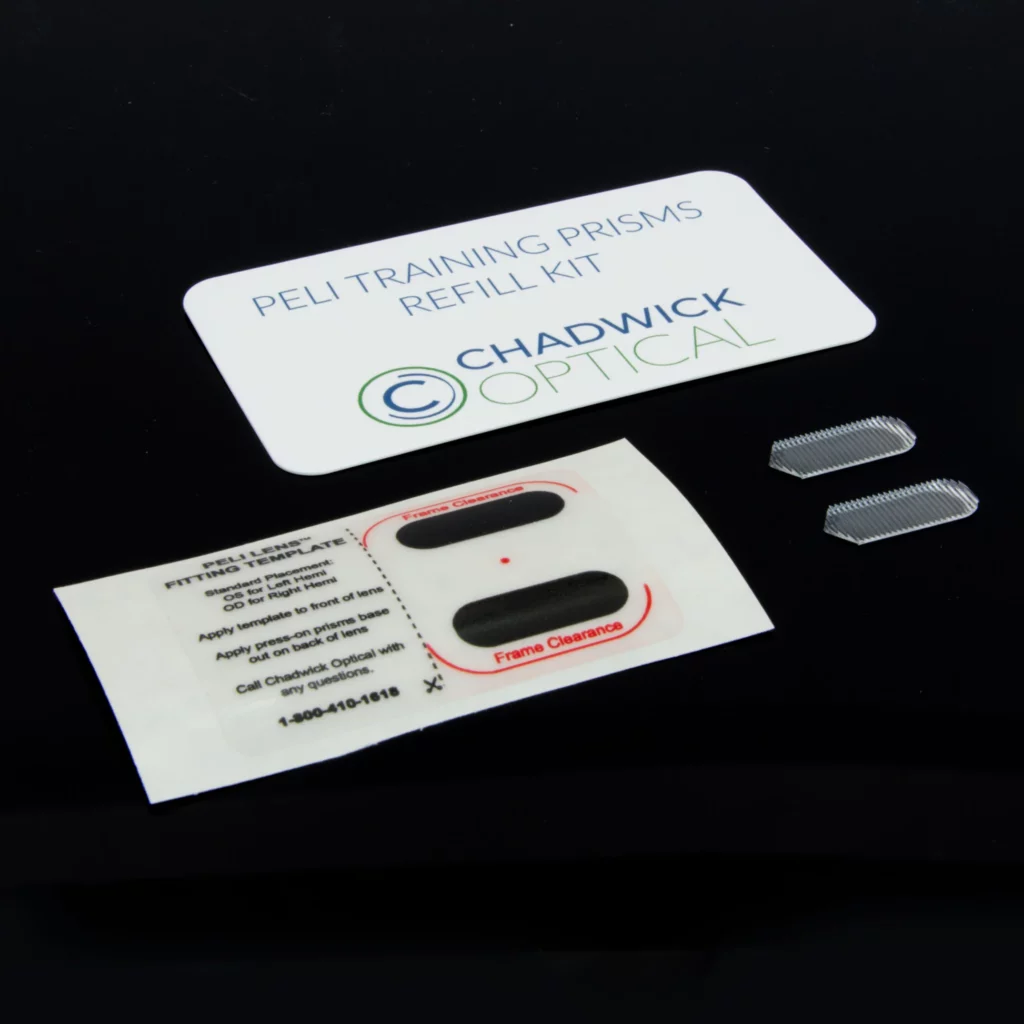
Doctor Resources - The Peli Lens™
There’s a lot of information out there on the Peli Lens™ (we know because we created much of it). To make it easier for doctors to help their patients, we’ve compiled this page of additional resources about the lenses themselves along with instructions on fitting and training patients to use the Peli Lens™.
Don’t want to read it all online? We offer a handy downloadable guide that spells out the steps for training your patient with the Peli Lens.
Peli Lens™ Use and Training Instructions
How to Fit the Peli Lens™
Items you will need: Glasses or fitovers (NOT patient’s everyday glasses)
1. Observe patient’s normal head posture and walking stance.
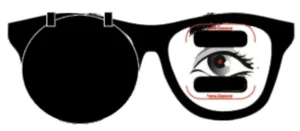
2. Use the following steps to place the template:
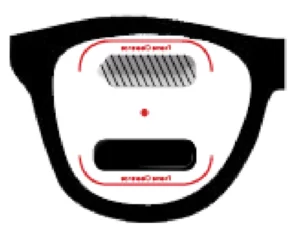
- Place the template on the eye with the temporal field defect (left hemi = left eye, right hemi = right eye).
- Place an occluder on the opposite eye. If you do not have an occluder, you can use the yellow cling provided with the fitting kit.
- Position the red dot in the center of the template directly over the patient’s pupil. If black part of the template overlaps the frame rim, adjust the frame and re-apply template to reduce or eliminate overlap.
- Have the patient walk around again to ensure the template has not changed their gait. If patient’s gait changed because of template, adjust placement of template accordingly.
3. Place the prisms:
- On the rear surface of the lens, firmly place the Peli press-on prisms, with pointed end towards temple, directly over the black portions of the template. Top Prism: 30° Base Out & Base Down - More Out than Down
- Bottom Prism: 30° angle Base Out & Base Up -More Out than Up
- Verify that there is 12mm of separation between the prisms.
- If prisms overlap the edge of the frame, trim off the excess.
- Remove template and occluder and press any air bubbles out of the temporary prisms.
It is very important that the patient look between the prisms to get the benefits of the expanded visual field. Looking directly through the prism will cause double vision. This is undesirable.
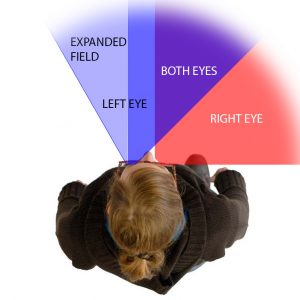
Supplementing Peli Lens™ peripheral prisms with vision training and therapy sessions has been shown to dramatically improve the patient’s recognition and understanding of the expanded visual field. Your patient should expect to spend 15-20 minutes a day training at home to maximize their results.
The goal of training is to help the patient reliably identify the location of their field expansion.
Read our training instructions, watch our training video, or download the Peli Lens™ Fitting Guide, which includes in-depth information on training and recommended exercises.
Recommended Training and Exercises
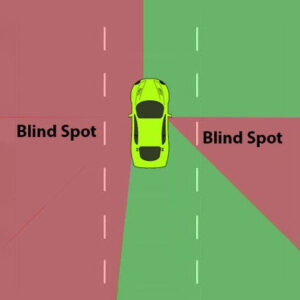
When first worn, peripheral prisms create a certain level of visual confusion. The patient tries to distinguish what information is in their blind field and what information is in their seeing field. The goal of training is to minimize this confusion. A pilot study done at Schepens Eye Research Institute showed patients to be 95% accurate in distinguishing the confusing images after just six one-hour training sessions in their driving simulator.

It is very important that your patient look between the prisms to get the benefits of the expanded visual field. Looking directly through the prism will cause double vision. This is undesirable.
Demonstrate Field Expansion to Your Patient
Tell the patient to focus on your nose, and to tell you when they see your hand come into view.
Starting from past the shoulder on the patient’s blind side, wiggle your fingers and move them in towards the patient's nose. For horizontal prisms, the expanded field will be slightly below or above the midline. For oblique prisms, the expanded field will be along the midline.
When the patient sees the hand, tell them to point to your hand, and then find your hand in central vision. Often times, the patient will point to your face, because that’s where they see the image of your hand in their visual field.

Reach and Touch Training
While the patient is fixating on your nose, reach your hand into the patient's blind side and have the patient grab your hand as they detect it through the prism. This should also be practiced at home with a loved one or by one’s self.
In a vision therapy or occupational therapy setting, many doctors or therapists will set up a reach and touch program on a Sanet Vision Integrator or similar reach/touch device.

Training Walk
Lead your patient from uncluttered areas such as a hallway to progressively cluttered areas such as a waiting room filled with chairs as potential obstacles. Constantly ask your patient to report his/her observations.
Resources on How the Peli Lens Works
In case you still need more information about the Peli Lens and how it benefits your patients, we’re created a few extra resource pages for you.
The Peli Lens™ for Mobility
Check out this video to learn more about using the Peli Lens™ for mobility so that your patients can better navigate their world.
Caring for Your Peli Lens™
Cleaning Instructions
- Rinse spectacle lenses under a gentle stream of warm running water. If contaminants remain after rinsing, use a brush to clean grooves.
- Pat or blot dry with a soft, lint-free cloth.
Peli Lens™ FAQs
We want you to get the most out of your prisms. What we’ve found is that the more effort you put into practicing and using your training prisms, the more you’ll get out of them.
Studies have shown that spending as little as 20 minutes a day performing the exercises below dramatically increases your ability to detect information on your blind side. If you follow that timeline as your guide, you should be able to do about 6 hours of training before your follow-up appointment, which is ample time to get you accustomed to and comfortable with them.
We recommend practicing with your prisms in situations where you will wear them frequently such as: grocery shopping, walking your dog, golfing, going to the mall, etc.
PEK
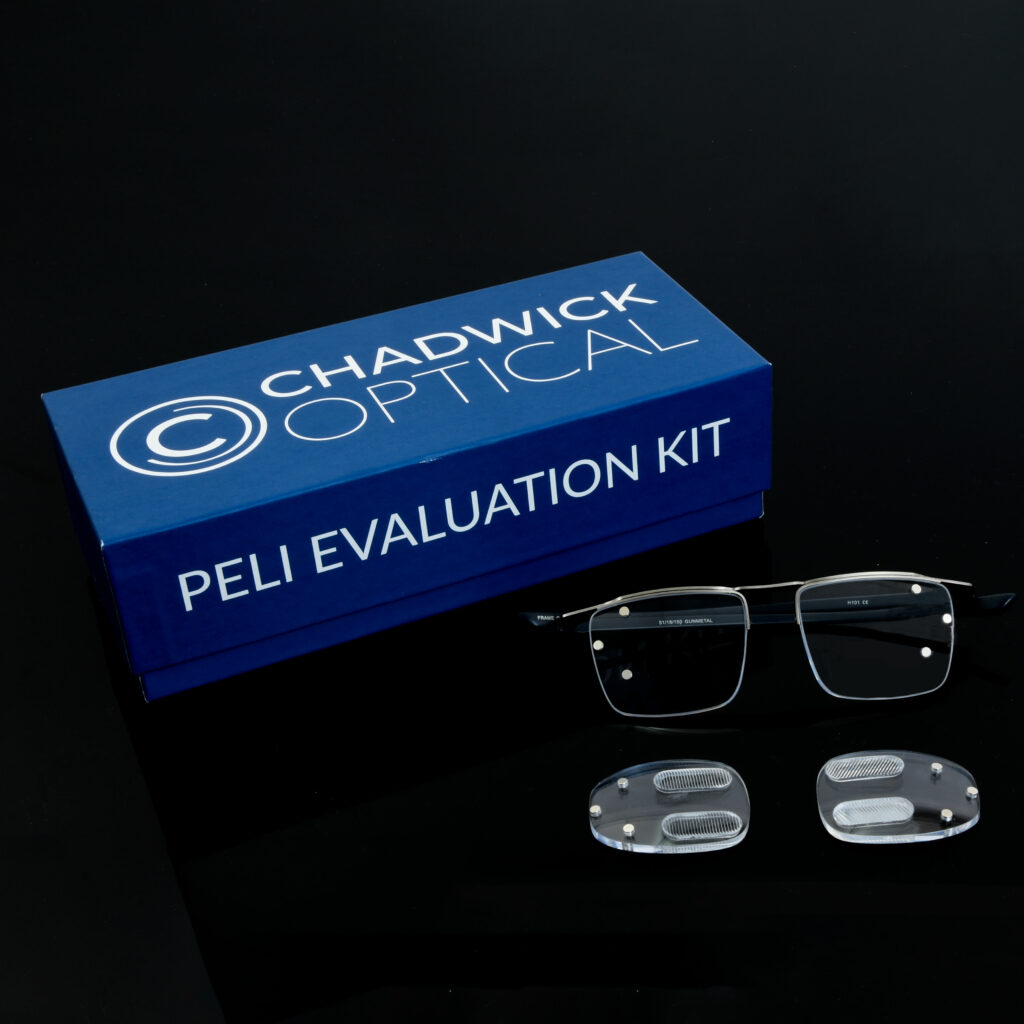
The PEK includes one Oblique Training Prism Kit and one Horizontal Training Prism Kit.

